Hello, everyone!
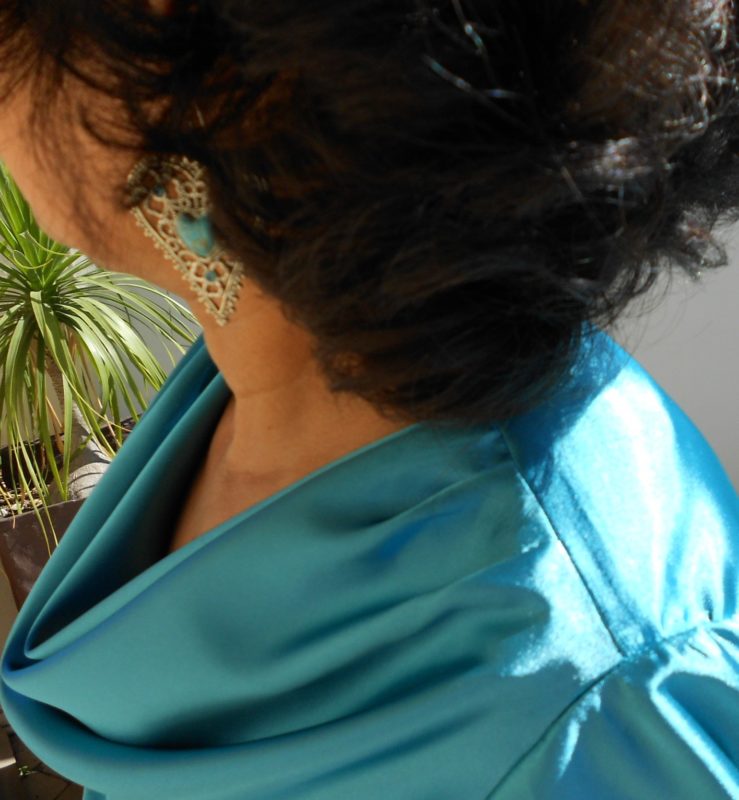
The cowl neckline is an old classic style that is always elegant, whether it is used in a top or dress. I used stretch satin for this top. The front was cut on the bias and the back on the straight grain of the fabric because the fabric has quite a bit of stretch in it.

I inserted 3 x 1 cm pleats on the neckline just like I did for the Animal Print Cowl Neck Dress. I scooped and spread the neckline slightly more for a deeper cowl.
I used Bangaline fabric for the slacks.


It is best to read my post, Bias, Overedge and Hairline Seams Tutorial, before you make a cowl neck top. The back neck can be finished off with binding or facing.
Requirements:
A cowl neck pattern or basic bodice block of your choice
Fabric that drapes well
Matching sewing thread
Interfacing
Method:
Cut the front and back panels out. Neaten the front neckline-facing extension with a zigzag stitch or overlocking. Stitch pleats on the edge of the front shoulders, or gather the shoulder if desired.

Baste the interfacing to the wrong side of the back facing. With the right sides together, pin and sew the back facing to the back neck edge. Trim and clip the seam allowance. Press the seam allowance toward the facing and understitch.

With the right sides together, pin and stitch the front and back shoulder seams and facing extensions together. Press the seams open.

Fold the facing extensions toward the shoulder edge and catchstitch them in place. This method covers the shoulder seams completely, and the end result is a neat finish.

Pin and sew the front and back side seams, right sides together. Set the sleeves in and press the garment.

Have a great week!
Great tutorial! Can’t wait to try making this cozy cowl neck top in teal for the upcoming winter.
Thanks!