There are a few ways to make hollow sleeves, but I prefer this method, as the end result is always neat.
Gather the following items for the sleeve pattern:
A tracing wheel, paper, pencil, eraser, scissors, French curves, and a ruler.

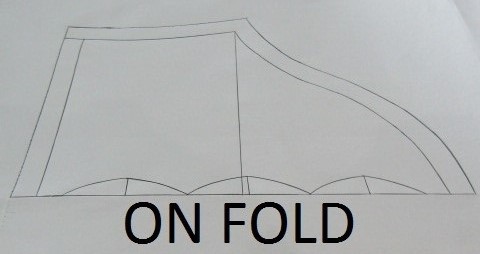
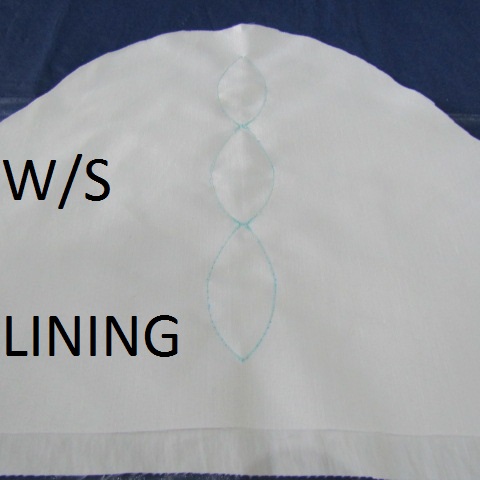
Trace a sleeve pattern to a required length from an existing pattern, or draft your own sleeve pattern. Draw the hollows to the required depth and width, as illustrated. I used a width of 7 cm (2 3/4 in) for each hollow/curve and a depth of 1.5 cm (3/4 in) for the centre of the hollow/curve on the fold of the fabric.
Cut the lining and fabric on the fold. Cut the lining about 1 cm (1/2 in) shorter than the sleeve to reduce bulk in the hemline.

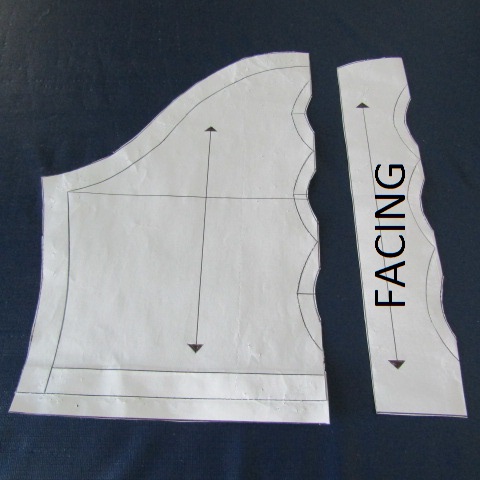
Trace facing off if unlined sleeves are required.
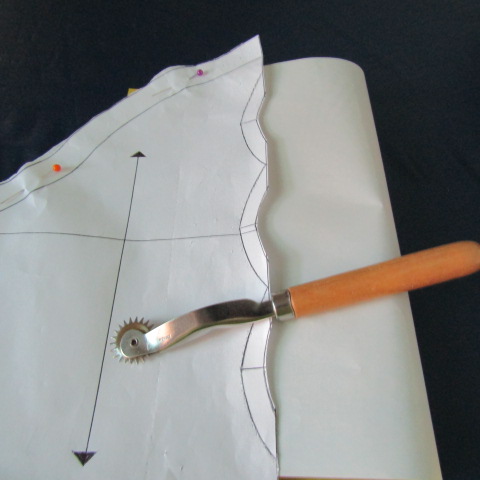
Trace the stitching line with the dressmaker’s carbon paper and a tracing wheel. Place the waxed side of the paper on the wrong side of the fabric, and trace the curves of the pattern onto the fabric.


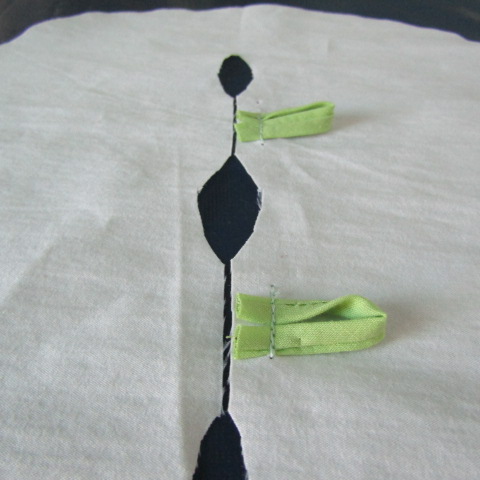
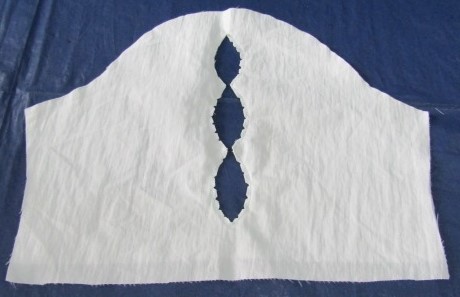
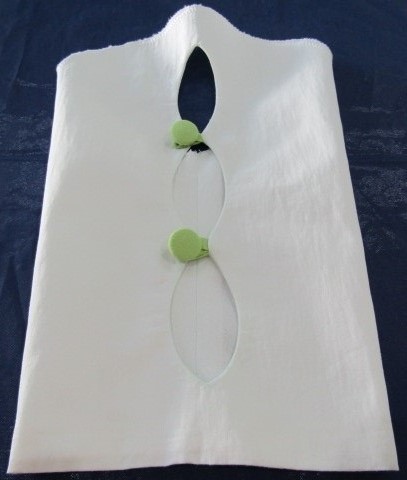
Cut through the centre of the sleeve hollows. Place the button loops on the right side of the fabric and stitch them in place.
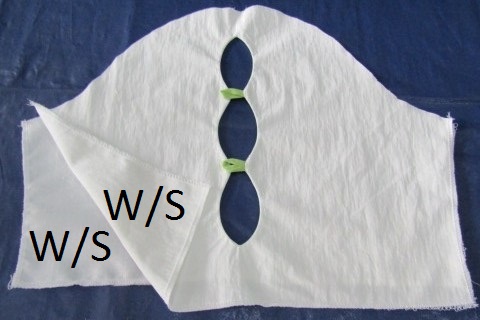
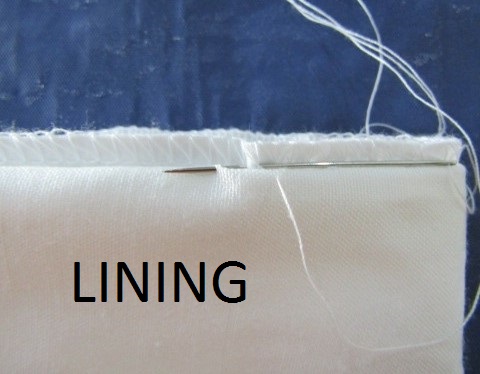
With the right sides together, pin the lining to the sleeve. Set your machine to a smaller stitch and sew on the marked curves. Reverse stitch at the end of each curve.
Trim and clip the seam allowances.
Turn the lining to the wrong side and tack the curves and hollows in place. Press.
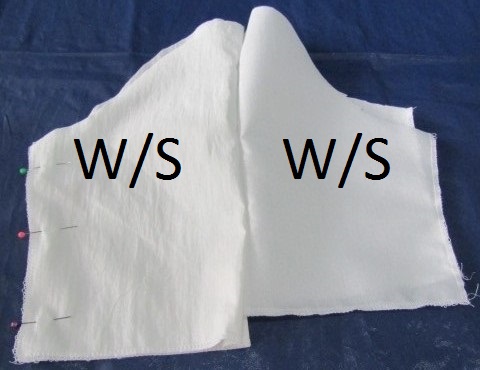
With the right sides together, pin and stitch the sleeve seams. Repeat the same for the lining.
Tack the sleeve hem up and over the lining. Sew the hem using a blind-hemming stitch while catching the lining with the needle.
Sew the buttons on and press the garment.
I love this.
Thanks Stella!